Getting Started with Bumblebee X in Common Vision Blox (CVB)
Overview
This application note describes the steps to set up and use the Bumblebee X stereo vision camera in Common Vision Blox (CVB).
Preparing for Use
Before you use your Bumblebee X camera, we recommend that you are aware of resources available from the product webpage, including:
- Getting Started Manual for the camera—provides information on installing components and software needed to run the camera.
- Technical Reference for the camera—provides information on the camera’s specifications, features, and operations, as well as imaging and acquisition controls.
- Firmware updates—ensure you are using the most up-to-date firmware for the camera to take advantage of improvements and fixes.
Installation and Configuration
Step 1--Install CVB
Download the latest release of Common Vision Blox from Latest Downloads topics - Common Vision Blox User Forum
The complete CVB setup includes the GenICam Driver automatically and installs all necessary libraries, controls, sample programs in source code, documentation, the vin-driver, the siNetFilter GigE Vision Filter Driver and the transport layers for GigE Vision and USB 3 Vision.

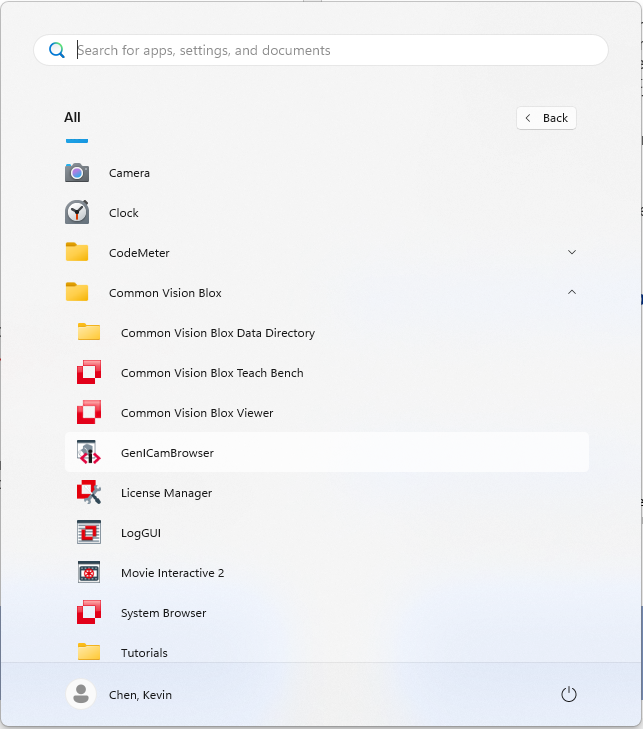
The GenICamBrowser is in:
| Start Menu > STEMMER IMAGING > Common Vision Blox | or under C:\Program Files\STEMMER IMAGING\Common Vision Blox\Applications |
 |
 |
Step 2--Install Interface Card
Bumblebee X 5GigE supports link speeds of 5 GigE, 2.5GigE, or 1GigE.
Network cards that we have tested include:
- ACC-01-1107: 10GBASE-T Ethernet PCI Express 3.0 x4 Dual Port Adapter, Intel X550AT2
- ACC-01-1105: 1000 Base-T Ethernet PCI Express 2.1 x4 Dual Port Adapter, Intel I350
In most cases, the default settings for the card do not need to be changed. However you should verify the following settings:
- Jumbo Packets—Set to maximum supported (9014 bytes)
- Receive Buffers—Set to maximum supported (4096)
- Receive Slide Scaling—Set to enabled
- Offloading Options—Set to UDP Checksum Offload and set value to RX and TX enabled
- Internet Protocol—Set to TCP/IPv4
To verify the interface card settings:
- In Windows, open the Control Panel to Network settings.
- Right click the network adapter and select Properties.
See also How to Optimize GigE Network Adapter Settings.
Step 3--Connect the Bumblebee X to the PC
Connect the Bumblebee X 5GigE to the PC. For more information, see the Getting Started Manual.
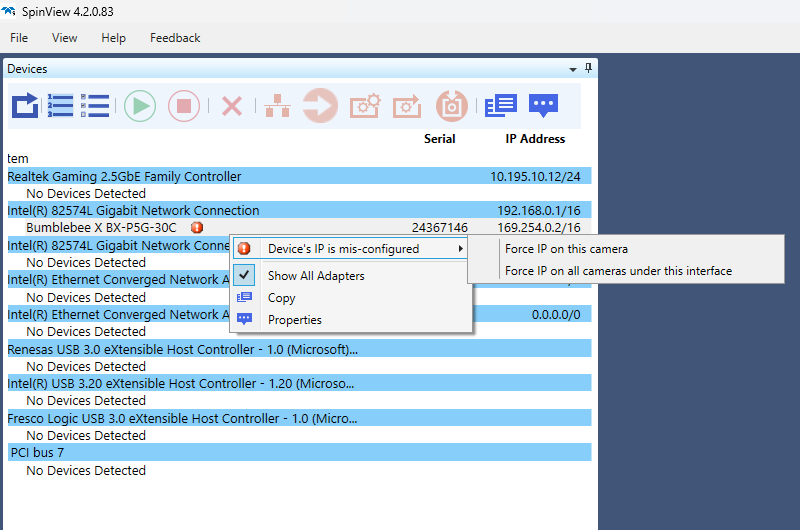
If you see the error Device’s IP is mis-configured, Force IP on this camera, then save it as the persistent IP.

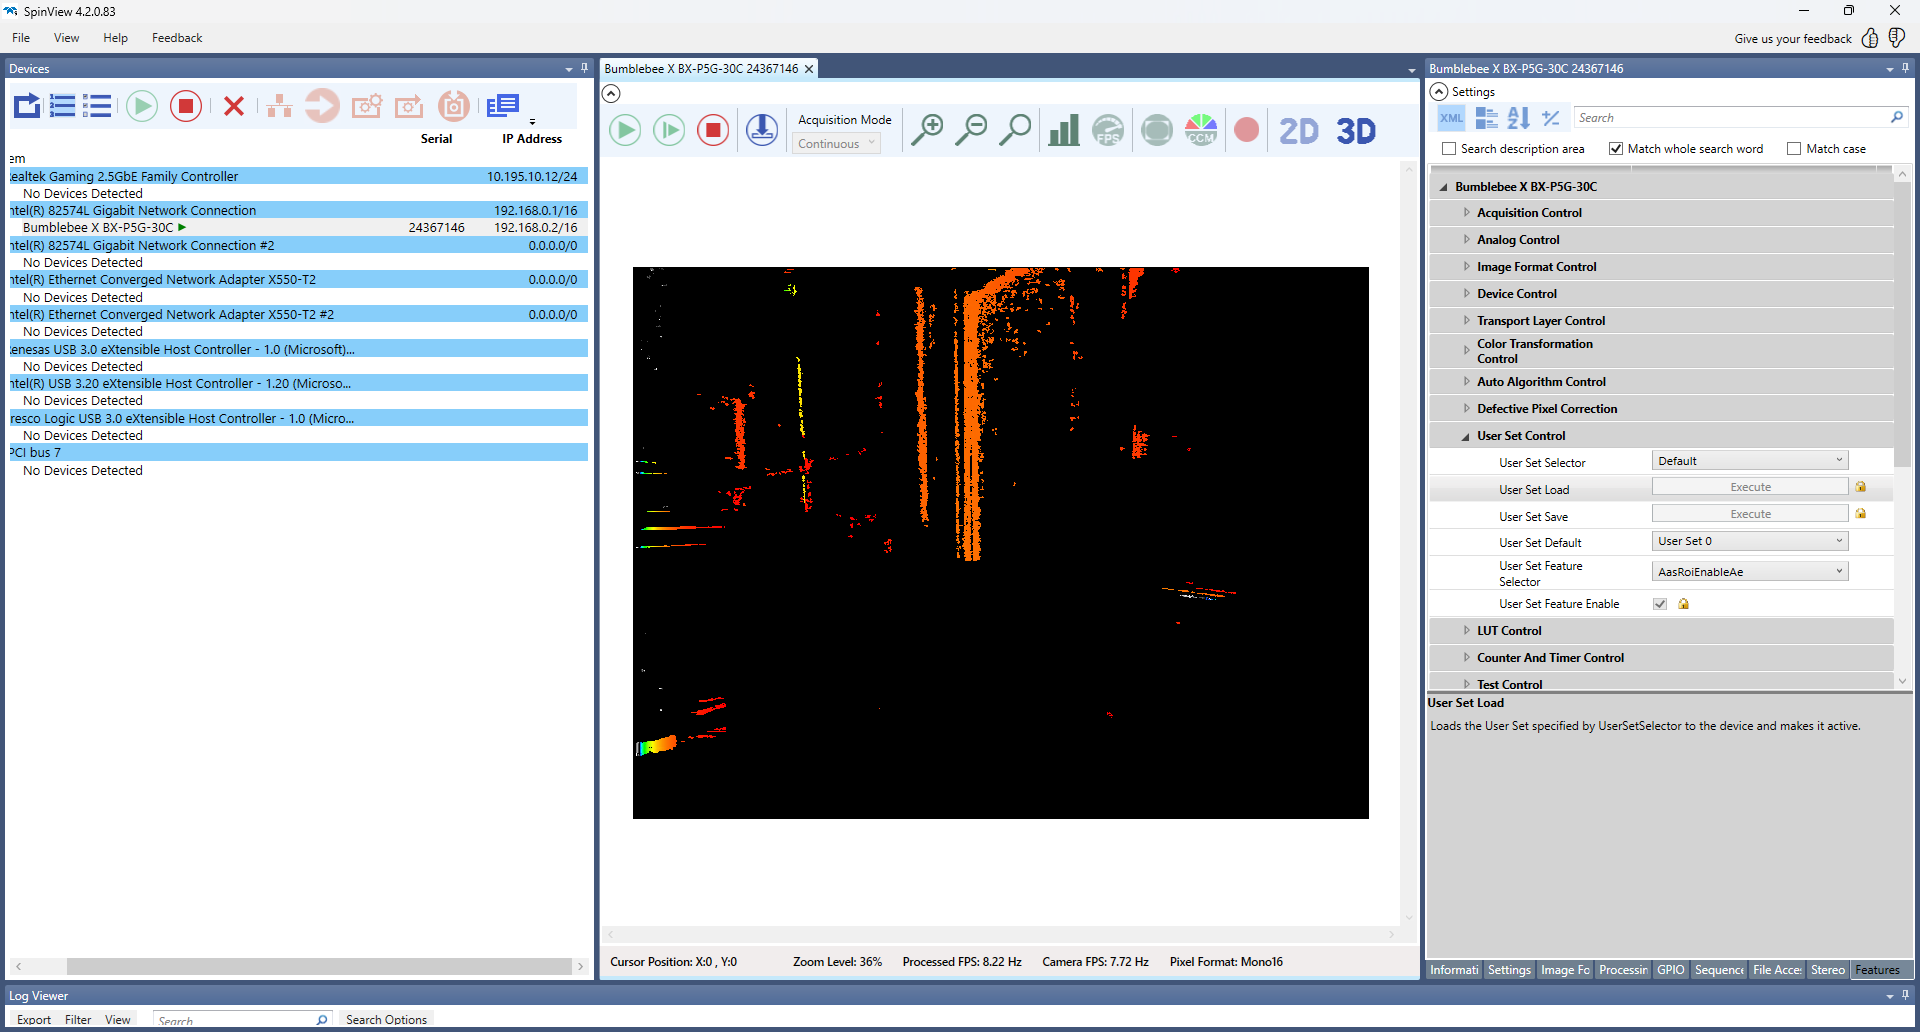
Ensure you can stream the Bumblebee X 5GigE in SpinView, then stop the streaming.
Step 4--Configure the Bumblebee X for CVB
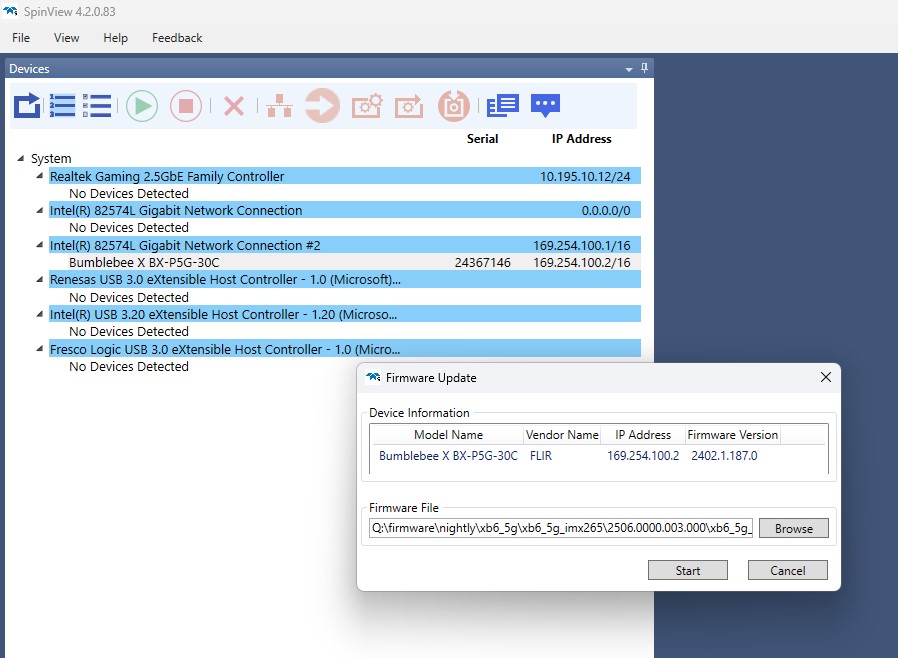
Update the Bumblebee X 5GigE firmware.
Delete the old XML file from CVB:
- Delete this file: %CVBDATA%\GenICam\xml\Registry\registry.db
- and all files in: %CVBDATA%\GenICam\xml\Registry\Files\*.*

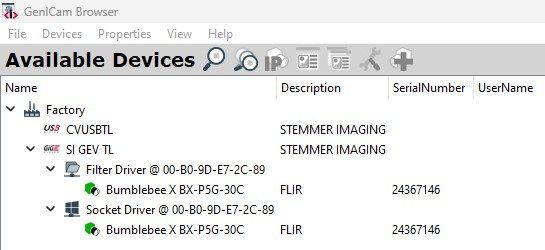
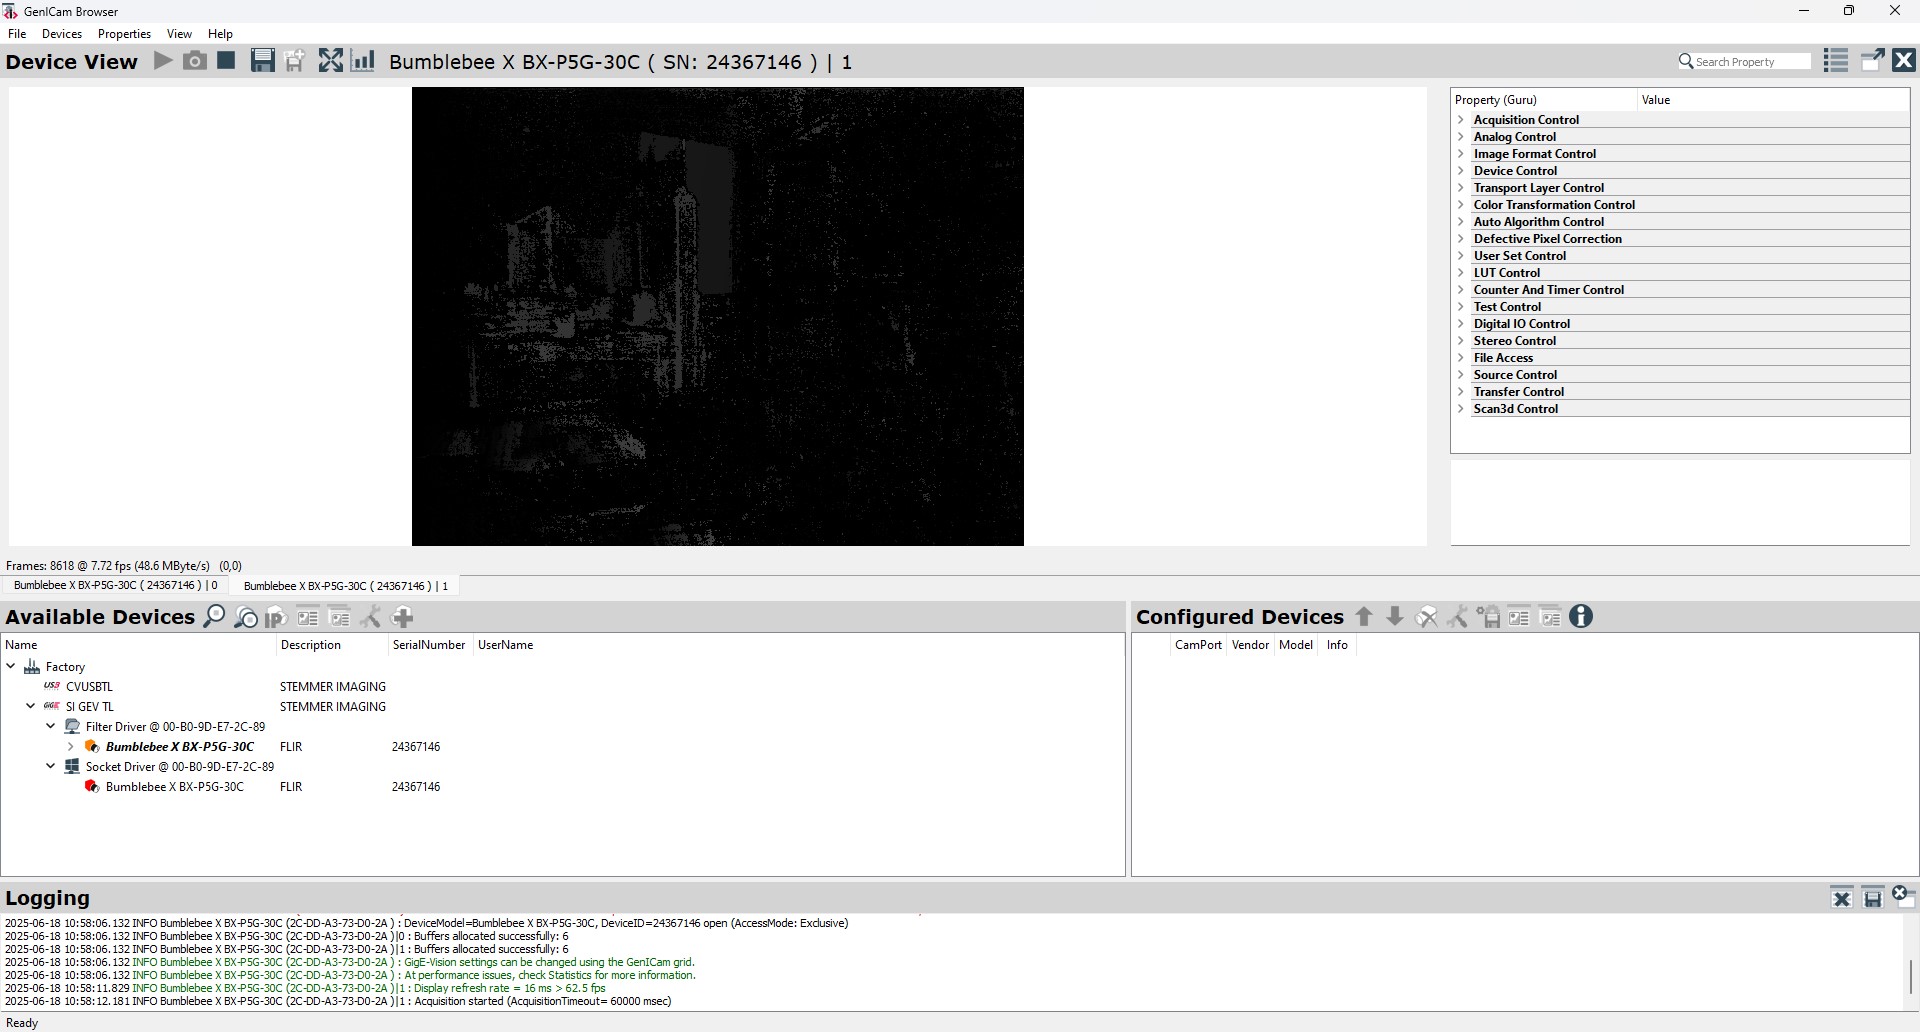
Launch the CVB GenICam Browser:

Under the Filter Driver, double-click the Bumblebee X, select source, then stream:

Troubleshooting Tools
| Camera Status LED | 1GigE/5GigE |
| Blinking Green (1 blink) | Link-Local Address (LLA) |
| Blinking Green (2 blinks) | DHCP IP Address |
| Blinking Green (3 blinks) | Persistent IP Address |
| Solid Green | Acquisition Started |
| Solid Red | Link is down |
| Rapidly Flashing Green | Firmware updating |
| Flashing Green and Red | General Error |
If you have any problems streaming the Bumblebee X in CVB, please contact support.
Related Articles
-
 Application Note
Getting Started with Bumblebee X in MATLAB
Read the Story -
Application Note
Getting Started with Bumblebee X in Matrox Design Assistant
Read the Story -
Application Note
Getting Started with Bumblebee X in MVTec HALCON
Read the Story